


Acrylic Paint Splash Techniques
Do you want to explore new techniques and create unique and dynamic pieces that will stand out? Look no further than acrylic paint splash techniques. With these acrylic paint techniques, you can create artwork that is full of texture, movement, and depth. From drip and splatter techniques to straw blowing, and pouring, the possibilities are endless. Read on to discover how you can use these 9 different acrylic splatter acrylic techniques to enhance your artworks.
Overview:
- Before you start
- 9 Acrylic Paint Splash Techniques
- Drip and splatter
- Straw blow
- Spray bottle
- Pouring
- Palette knife
- Plastic wrap technique
- Toothbrush technique
- Tape splatter
- Toothpick splatter
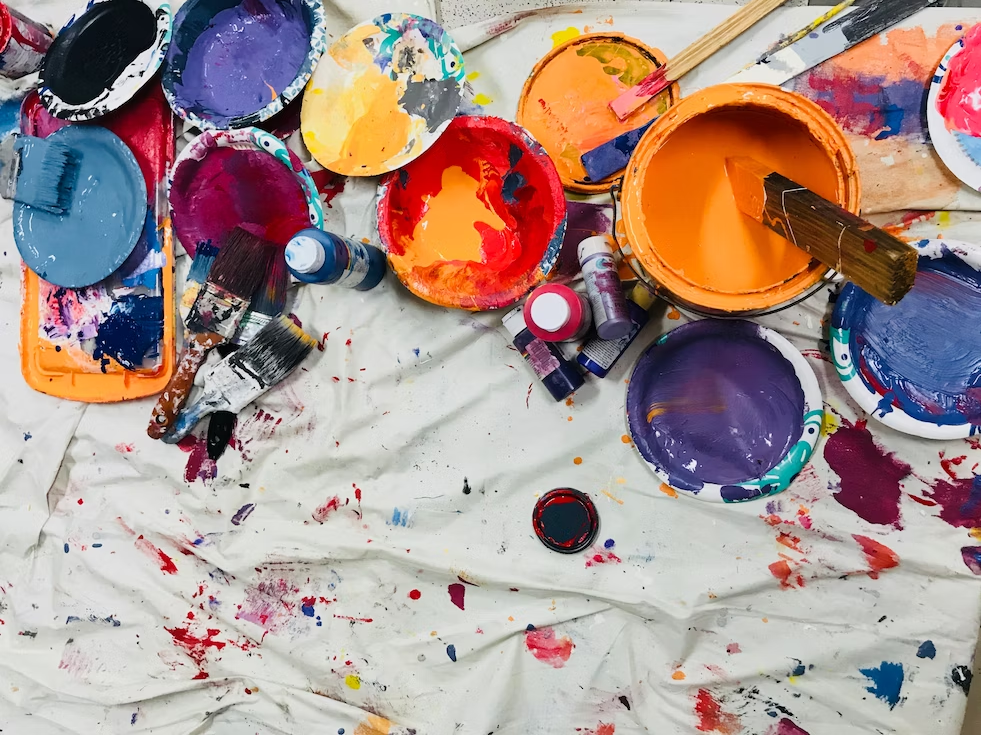
Before you start
Before you start creating your masterpiece, make sure you have all the necessary art accessories and equipment at hand. You’ll need:
- Acrylic paint (in various colours)
- Canvas or art paper
- Paintbrushes
- Water cup
- Acrylic mediums
- Paint palette
- Painting accessories (apron, paper towel, rags)
- An easel
1. Drip and splatter
 Source: Splatter paint
The first acrylic paint splash technique involves using a paintbrush to apply paint onto the canvas and then flicking it off the brush onto the canvas. It creates a fun, unpredictable splatter effect that adds texture and movement to your artwork.
How to do it:
- Pick the colours you want for your piece. You may choose to paint the background of your surface first. If so, let that dry before you begin your splatter technique.
- Dip your acrylic paintbrush into one of your chosen colours and practise different ways of holding the brush and flicking the paint to discover the different textures you can make.
- Begin flicking paint onto your art surface.
- Between colours, wash your brush in the water cup and dry thoroughly.
- You can add some acrylic medium if you want a unique finish to your paint, such as a matte or glossy finish.
2. Straw blow
 Source: Straw blow paint
The straw blue technique is great for creating splash effects. This technique allows you to use a straw to blow paint blobs around on the canvas. You can create patterns, textures, and abstract shapes, and experiment with different colours to achieve different effects.
How to do it:
- Pick the colours you want for your piece. You may choose to paint the background of your surface first. If so, let that dry before you begin straw-blowing.
- Add water to your acrylic paint. This will create a thin consistency, and make the paint easier to blow.
- Begin pouring your paint on the page in blotches. Make sure this is where you want the colours to go.
- Use your straw and softly blow the paint around the page. Use different angles to control the paint in the direction you want it to go.
3. Spray bottle
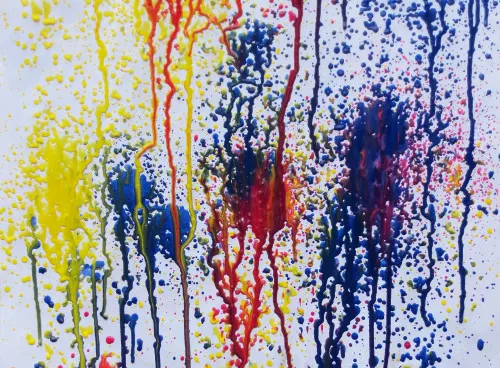 Source: Paint with spray bottles
This technique involves using a spray bottle to apply paint in a controlled or arbitrary way, creating a unique texture. It's a great way to add some depth and dimension to your artworks.
How to do it:
- Pick the colours you want for your piece. You may choose to paint the background of your surface first. If so, let that dry before you begin spraying.
- To make the acrylic paint easier to spray, simply add a splash of water to your acrylic paint.
- Make sure to put a sheet or scrap rag under the painting, as the paint will drip down the canvas.
- Start spraying! Between colours, clean the spray bottle to avoid the colours mixing.
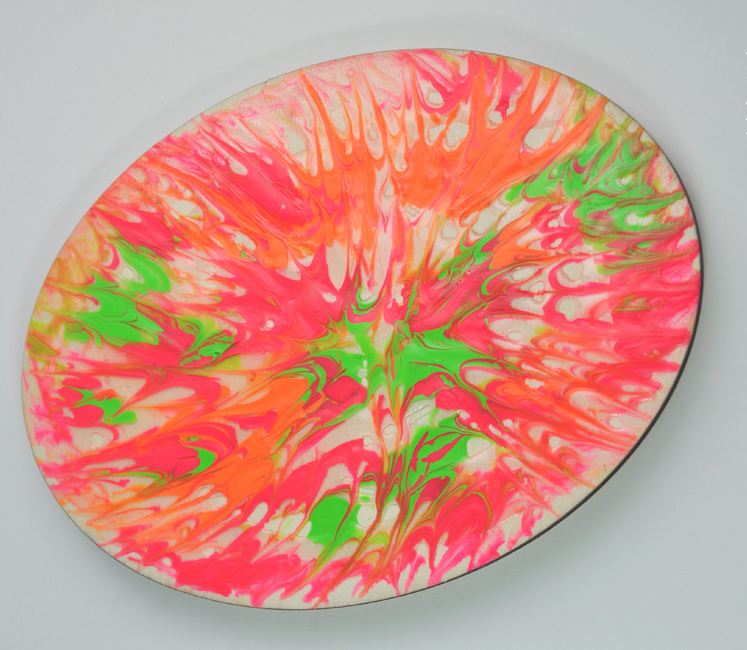
4. Pouring
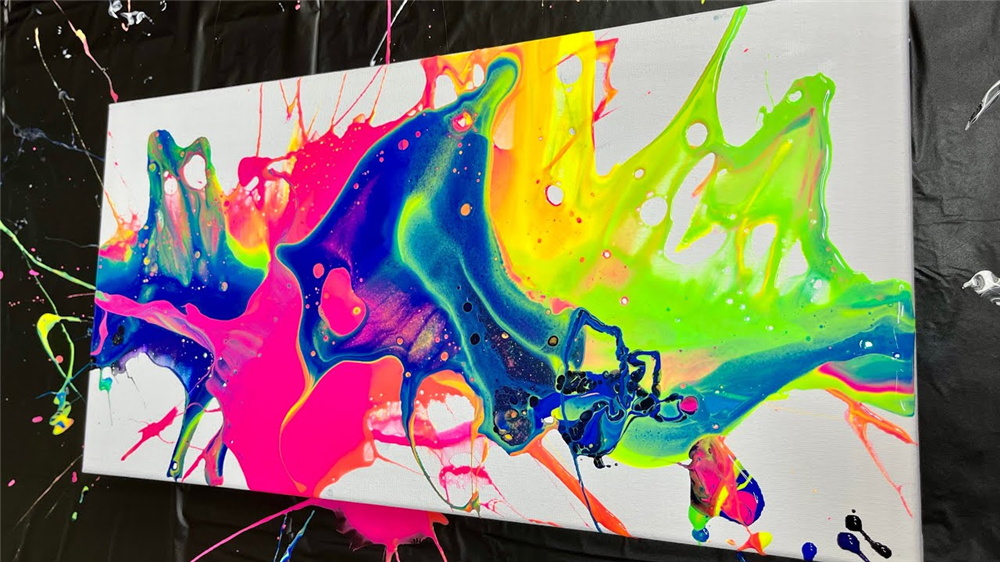 Source: Splash pour acrylic paint
Pouring is a fun and easy way to achieve a smooth, fluid look in your artwork. Simply mix your paint with a pouring medium and pour it directly onto the canvas. You can tilt the canvas to create different patterns and shapes.
How to do it:
- Pick the colours you want for your piece. You may choose to paint the background of your surface first. If so, let that dry before you begin the pour.
- You may choose to change the thickness of your paint by adding water or a pouring medium to your acrylic paint.
- Pour your acrylic paint into a cup first, laying the colours one by one.
- Then begin to pour or throw the paint onto the surface. You can tilt and manoeuvre the canvas to spread the paint evenly.
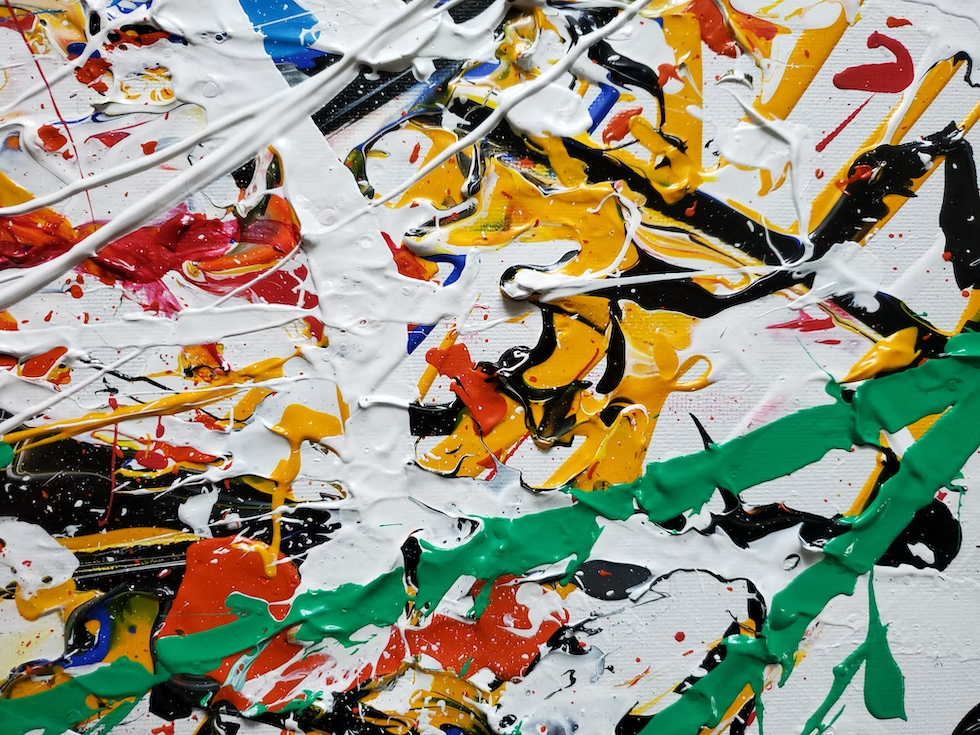
5. Palette Knife
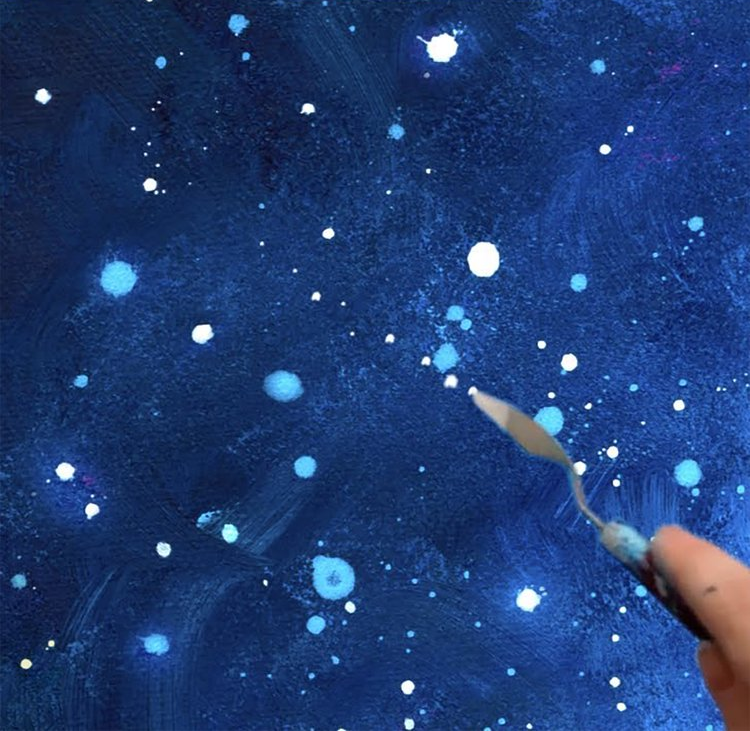
Source: Palette knife splatter paint
Using a palette knife to spread and splash different colours of paint can create a more structured and textured effect for your paintings. You can use the knife to create different shapes and experiment with different techniques to achieve unique effects.
How to do it:
- Pick the colours you want for your piece. You may choose to paint the background of your surface first. If so, wait for the painting to dry before you begin your splatter technique.
- Dip your palette knife into one of your chosen colours and practise different ways of holding the brush and flicking the paint to discover the different textures you can make.
- Begin flicking a small amount of paint onto your art surface.
- Between colours, wipe your palette knife clean and dry thoroughly.
- You can add your acrylic medium if you want a unique finish to your paint, such as a matte or glossy finish.
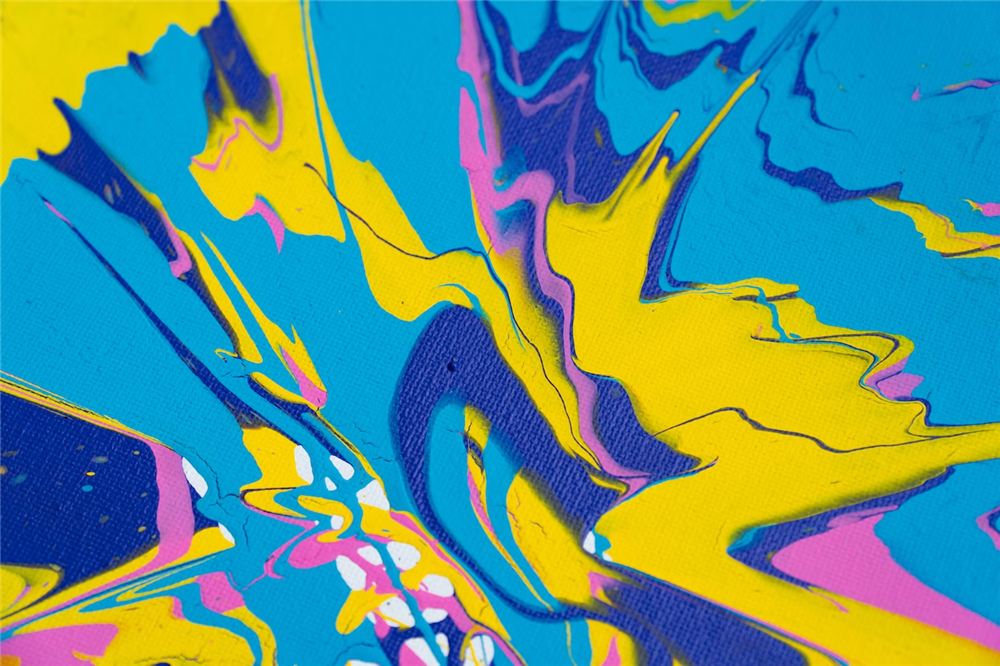
6. Plastic wrap technique
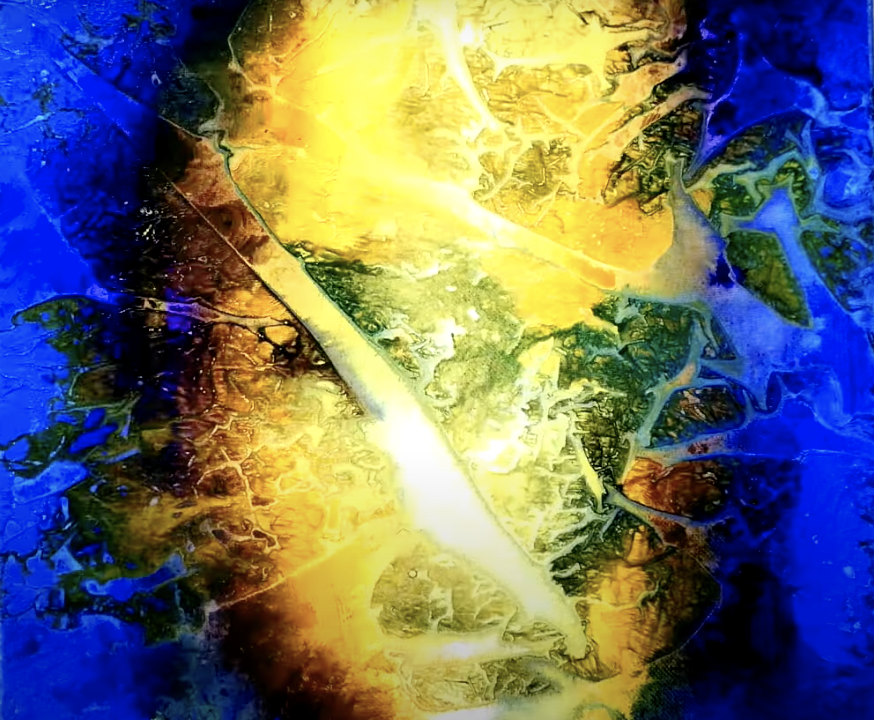 Source: Plastic wrap splash paint
Try out this super easy and unique plastic wrap technique to create your next abstract artwork Simply take your plastic wrap and press it onto the wet canvas to create unique textures and patterns.
How to do it:
- Pick the colours you want for your piece.
- Paint the canvas with your chosen colours and roughly blend them to remove all white space from your surface.
- Put water on your brush and splash a small amount onto your wet paint.
- Then scrunch your plastic wrap up, unravel it and just slightly place it onto the painting and press it firmly.
- Take your plastic off and voila! Another great acrylic paint splash technique.
7. Toothbrush technique
 Source: Toothbrush splatter paint
A toothbrush is a great way to create an acrylic paint splash technique for your next artwork. Experiment with different colours and the brush strokes to achieve the perfect spatter effect. And, most important of all, don't forget to have fun with it!
How to do it:
- Pick the colours you want for your piece. You may choose to paint the background of your surface first. If so, let that dry before you begin your splatter technique.
- Load your toothbrush with paint, you may choose to add water to the paint for a thinner texture.
- Then use your fingers to flick the bristles directly onto the canvas and watch the magic happen!
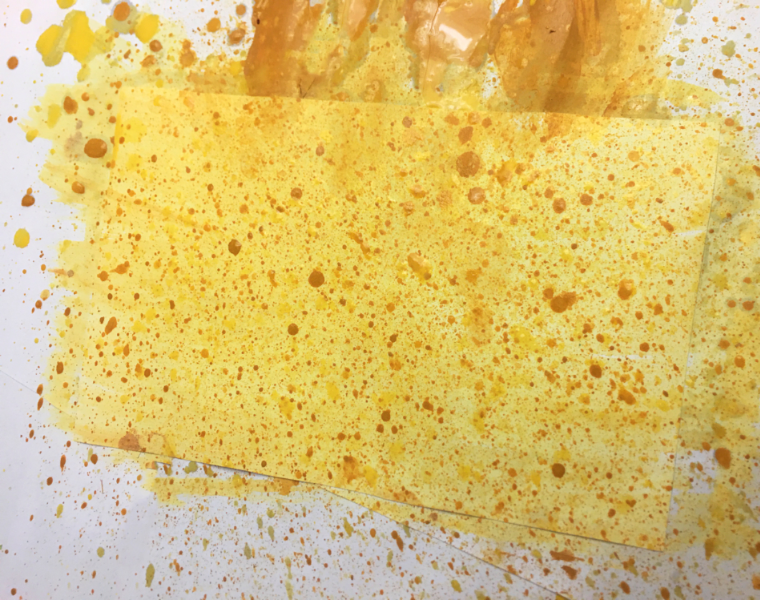
8. Tape splatter
 Source : Splash paint with tape
This technique can work with all the above techniques. You just add tape to create blocks of white space for contrasting features in your art. Experiment with different colours and brush strokes to create a unique and dynamic pattern.
How to do it:
- Pick the colours you want for your piece. You may choose to paint the background of your surface first. If so, let that dry before you begin your splatter technique.
- Use masking tape to stencil out the shape you want to not include the splash technique.
- Load your paintbrush with paint, you may choose to add water to the paint for a thinner texture.
- Next, use your fingers to flick the bristles directly onto the canvas and watch your canvas become a masterpiece!
9. Toothpick splatter
 Source: Toothpick splash painting
The toothpick technique involves using a toothpick to create fine details in your artwork. It’s perfect for creating small splash art and dynamic shapes. This technique uses craft glue to move around the paint, easily creating an eye-catching 3D texture.
How to do it:
- Start by pouring some craft glue onto the entire surface of your paper, board or canvas. Don't forget the edges!
- Choose the paint colours you want.
- Add acrylic paint to the glue solution on the canvas. Make sure this is added in blotches.
- Use a toothpick to move the art and glue around the page. This creates different lines and shapes, forming a unique splash texture.
- Let your masterpiece dry and viola! A beautiful abstract splash piece.
Explore acrylic splatter painting with Art to Art
There are so many ways to experiment with acrylic paint splash techniques, and the possibilities are endless! So grab your paint, and canvas, and let your creativity run wild! Get all your art supplies from Art to Art online or in-store from paint pens and colour pencils to paint brush holders and varnish brushes. When you order over $100 online you will get free shipping. Plus, same-day dispatch when you order before 11 am!
More inspo & helpful resources
- Acrylic Painting Ideas
- Acrylic Painting Techniques
- Acrylic Paint Pouring Ideas

