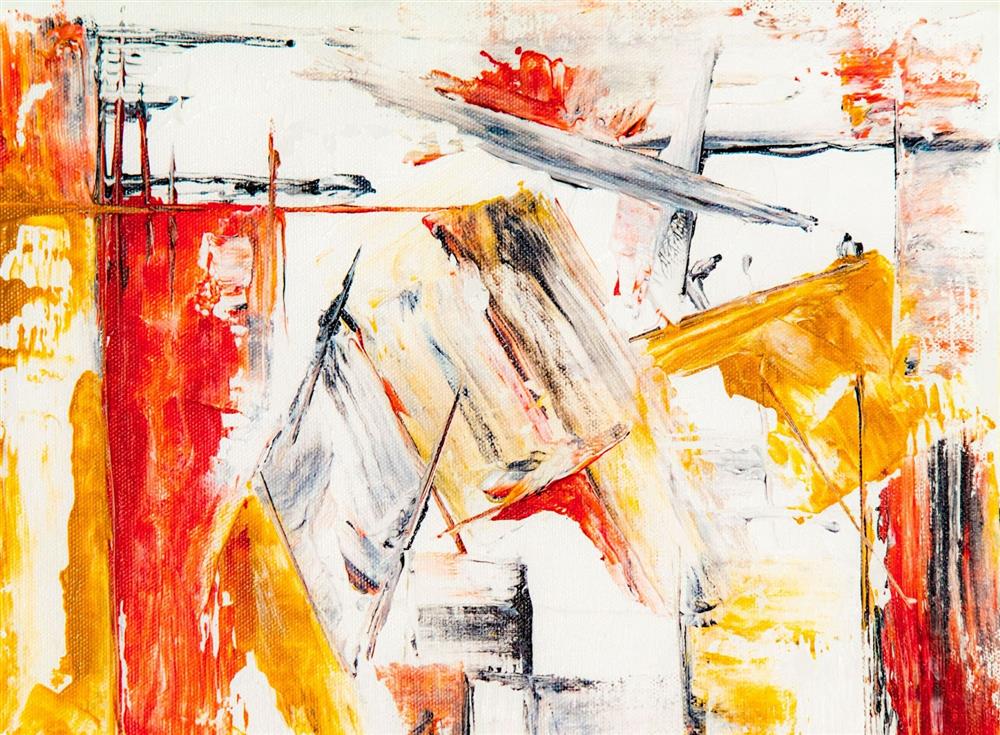
Overview:
Basic abstract acrylic painting techniques
10 abstract acrylic painting ideas (for beginners)
If you’re new to painting, working with acrylic paint is great because it’s so easy to use. Abstract painting styles are also fantastic, as they can be more forgiving than realist and detailed works. So if this sounds like you, you’re in the right place. We’ve got 10 abstract acrylic painting ideas to get you started.
Before you start
There’s a few things you’re going to need before you start exploring some abstract acrylic painting ideas (but you don’t necessarily need all of them). Depending on what acrylic painting techniques you want to employ, you should have at least the basics.
- Acrylic paint brushes, dragging tools and/or sponges
- Primed canvas, board or painting paper
- Acrylic mediums (for creating a textured effect)
- Masking tape (for creating straight lines)
- Easel
Basic abstract acrylic painting techniques
Our list of abstract acrylic painting ideas uses the following basic acrylic painting techniques:
- Layering
- Dragging or scraping
- Using a palette knife
10 easy abstract acrylic painting ideas for beginners (with steps)
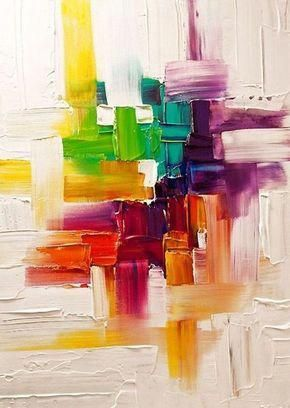
1. Colour block dragging
This is a super easy abstract acrylic painting technique. The below example has a focal point of colour in the middle, surrounded by a single neutral shade. However, you may choose to make the entire surface multicoloured, or concentrate your efforts in one corner or another.
How to do it:
- Choose the colours you want to work with, usually 4 or 5, and put a bit of each onto your palette.
- Get your scraping tool - a hard bit of plastic like an old credit card works well too - and scoop up one or maybe even two colours.
- Drag the scraping tool in a straight line across your canvas.
- Keep applying your colours in this way, dragging them across as well as up and down your surface, until you’ve achieved the effect that you want.
- Be careful not to mix your individual colours too much, as you risk ending up with brown mess.
 (Source)
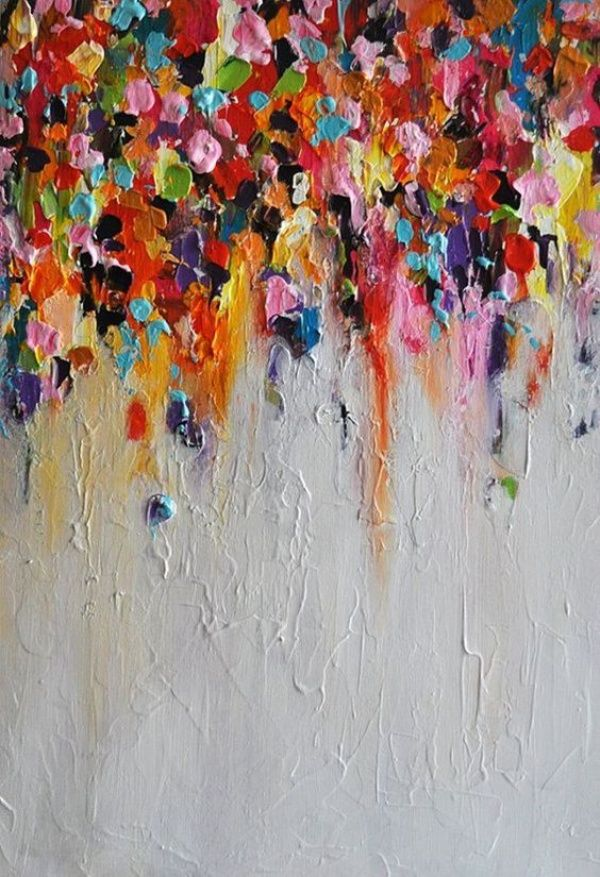
2. Creeping colour blotches
This idea is similar to the first one, however instead of dragging the colour across your surface, you build it up using a palette knife and you can even use your finger to drag some parts of the colour for a less uniform effect.
How to do it:
- Decide whether or not you want to use an acrylic medium to achieve an even more textured effect. Learn more: How to use acrylic gel medium
- Start with your background colour, unless you’re planning to cover the entire surface with multicoloured blotches.
- Once your background has dried, you can start to layer your dark colours on top.
- Experiment with different parts of the palette knife, like the tip and the side, to create different shapes.
 (Source)
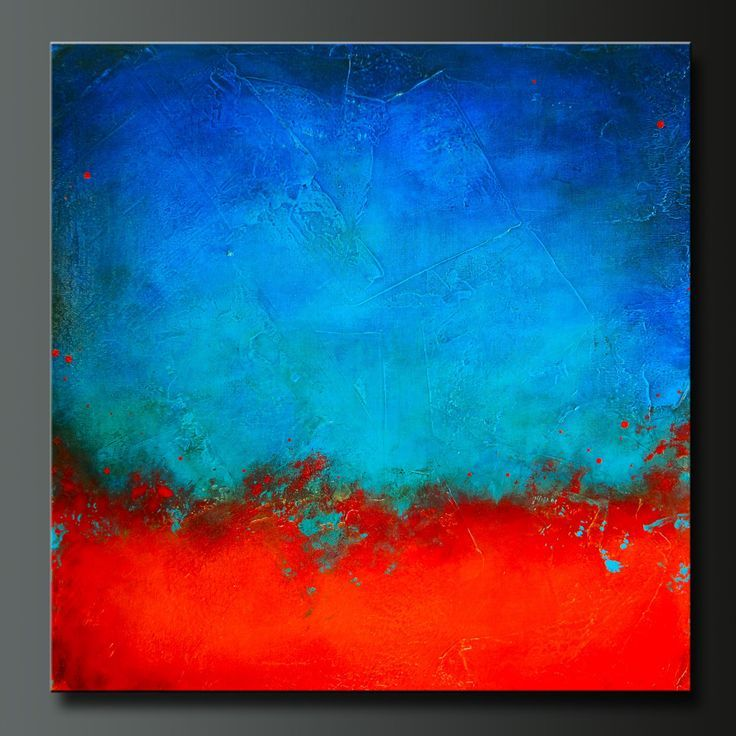
3. Horizon colour blend
We call this abstract acrylic painting idea the “horizon” colour blend because, whatever colours you choose to work with, they divide the canvas into two horizontally and meet in the middle.
How to do it:
- You can either choose a complementary third background colour to cover the entire surface with, or simply layer on the first of your two main colours.
- Cover at least half of the surface with your bottom colour.
- To add interest, light and shade, add white gradually to your bottom colour as you get closer to the horizon.
- Once you’re happy with your bottom colour, allow it to dry before applying your top colour (in the example below, the top colour is red).
- NB: Try using a sponge instead of a paint brush to apply your colours.
(Source)
4. Waves of colour
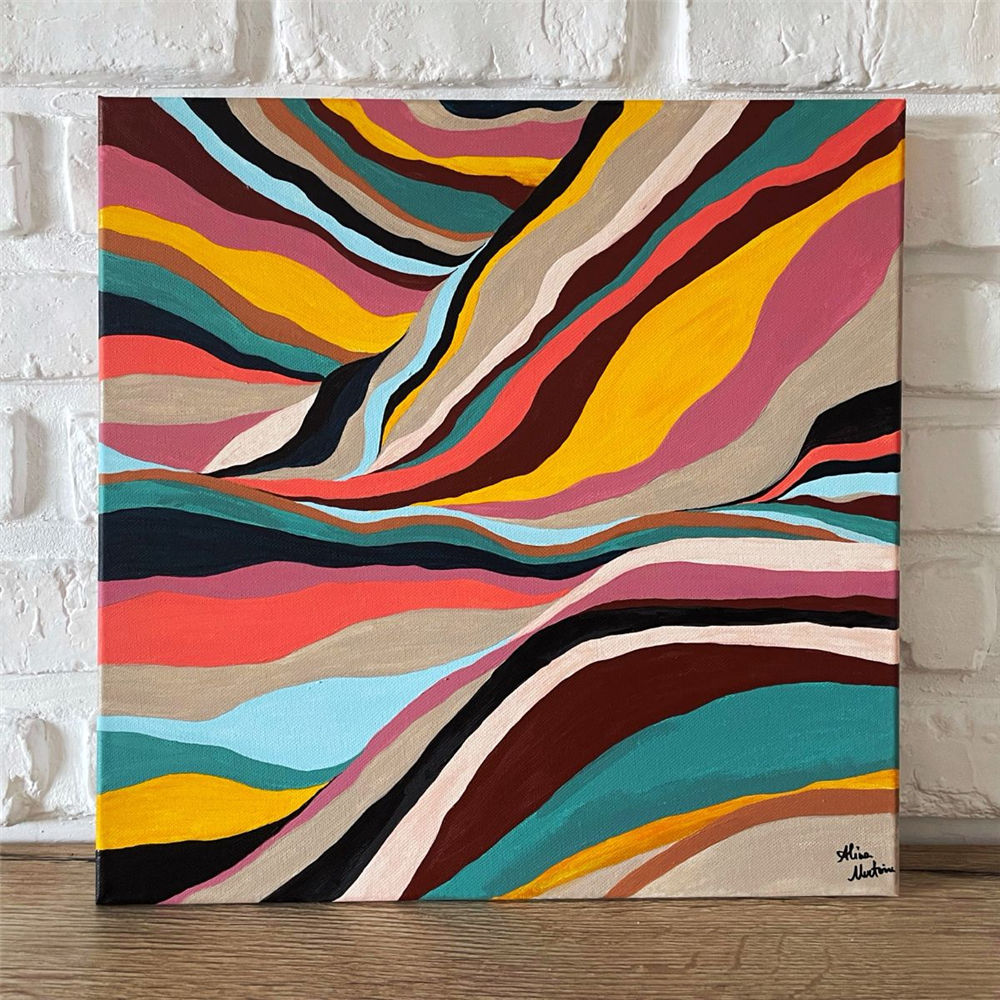
This abstract acrylic painting idea is a little bit like painting with numbers. Younger children and real novices might want to draw on their waves very lightly in pencil first and decide which ones will be which colours. You’ll need a good quality fine paint brush and a steady hand in order to achieve the very thinnest points of each wavy line.
How to do it:
- Choose the colours you want to work with, ideally ranging from light to dark.
- If you’re opting to draw your waves on first, do so now as faintly as you can.
- You can either cover your entire surface with the lightest colour, or apply only the wave sections that will be in the lightest colour, and then wait for it to dry.
- It’s important to wait for each colour to dry completely before moving onto the next colour to avoid unwanted blending of colours.
- Your darkest colour, black if you’re using it, should be the last wave sections you complete, being extremely careful not to obscure too much of neighbouring colour waves.
(Source)
5. Abstract flower
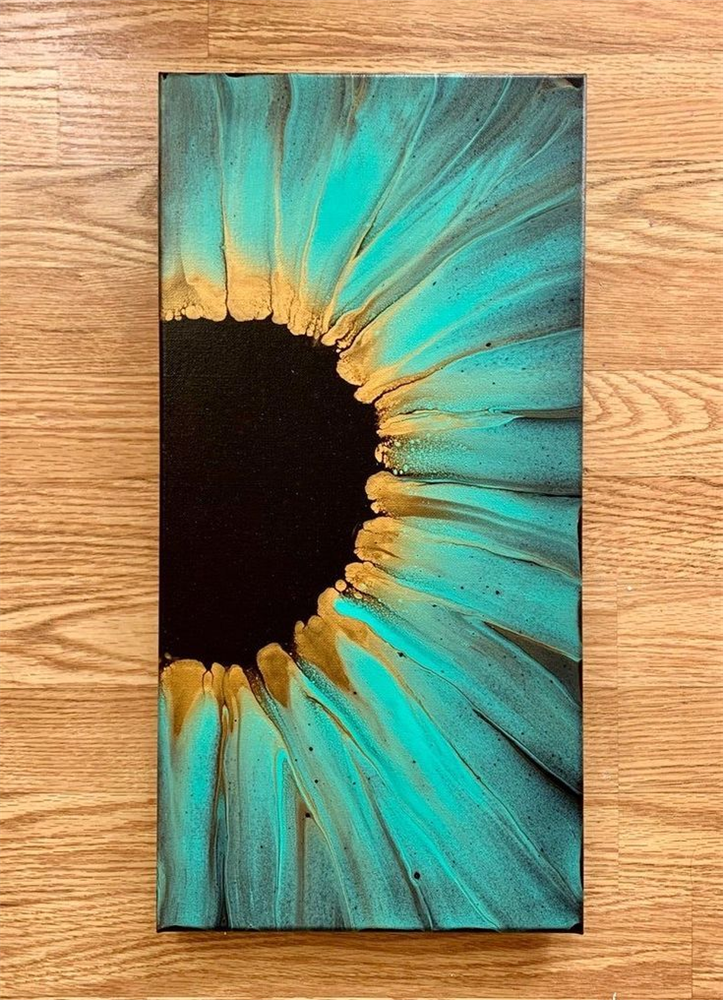
With this idea, it might be helpful to find a picture of a flower you want to paint online and zoom in on a small section of it. It’s this close up section that will be the focus of your abstract painting. In the example below, the artist has used metallic acrylic paint over the top of a black background to really make it pop.
How to do it:
- Choose your colours and the part of the flower you want to paint (find a picture, zoom in and print it out if necessary).
- Cover your surface with your background colour and leave to dry.
- To achieve the viscosity and translucent effect in the below image, you’ll need to mix your flower paint colours with a pouring medium. You can then tip your canvas or drag the paint using a wooden spatula from the centre of the flower to the ends of the petals.
- For an extra shiny finish, consider adding a layer of clear varnish to your floral masterpiece after it has completely dried.
 (Source)
6. Abstract birds or butterflies
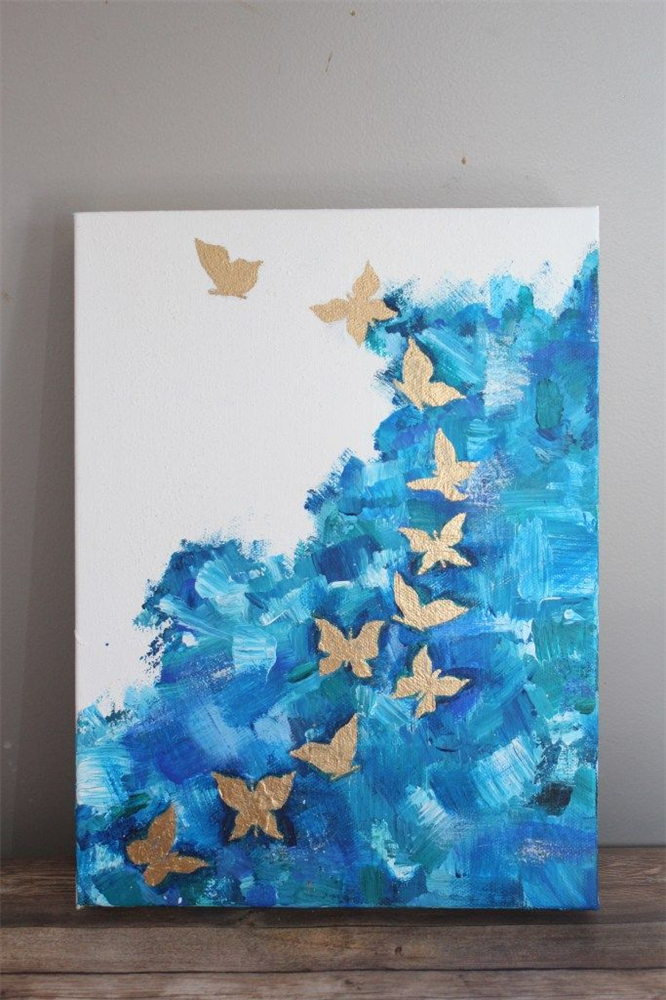
Another easy abstract acrylic painting idea is birds or butterflies, as in the example below. If your birds are far enough away in the sky, each one can be depicted with a stylised letter ‘v’. Alternatively, you might want to use a stencil.
How to do it:
- Start by applying your background – experiment with scraping and sponging to add interest and depth.
- Once the background has completely dried, it’s time to add your butterflies or birds in a contrasting colour. Black works well to create a silhouette effect, or you could use metallic paint as in the example below.
- Tip: Create movement and flow in your painting by depicting the birds or butterflies in a curve across the canvas, as opposed to random placement.
 (Source)
7. Black hole explosion
This is a more advanced abstract acrylic painting idea, but you can give the following steps a go to achieve a similar effect.
How to do it:
- The key with this idea is defining the centre of the explosion – your colours will emanate outwards from there.
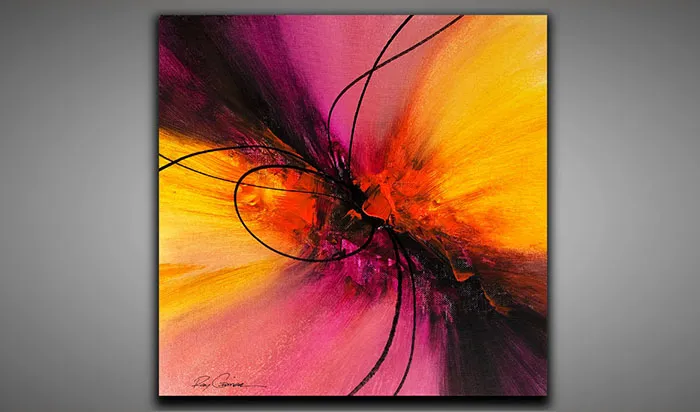
- If you’re opting for a block hole effect (as in the example below), where black is in the centre of the explosion, begin by applying your black background.
- Once the background has completely dried, you can start to experiment with dragging or scraping your bright colours outwards from the dark centre.
- NB: If you want to attempt the solid black curves in the example below, you will need to apply masking tape onto your black background before you apply your coloured paint. First, cut your masking tape into thinner strips using a craft knife. This makes each strip more flexible and able to curve. Apply to the canvas and then add on your bright colours.
 (Source)
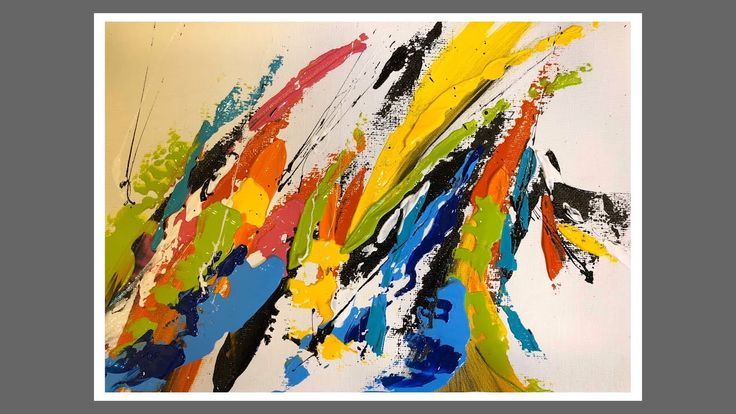
8. Splashes of colour
Now it’s time for a playful and potentially messy idea! Be sure to cover anything in, around or near your painting area with newspaper or a plastic sheet to ensure it’s protected.
How to do it:
Go for a neutral background to let the splashes of colour really stand out.
Load up a nice flexible paint brush with a colour - don’t be afraid to put a large dollop on there - and then flick or splatter the paint across the canvas.
With this idea, it’s all about movement and fluidity, so really put your body into it! The more movement there is in your body, the more the paint will travel across the canvas. Try pretending you're hitting a tennis backhand and see where the paint ends up!
By contrast, a static flick of the wrist will create a more sedate ink splatter type effect.
 (Source)
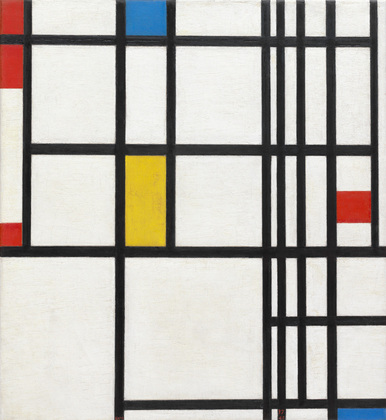
9. Straight lines
The exacting nature of these abstract pieces tends to make them harder than they appear. But if you fancy giving this straight line work of art a go, here’s how.
How to do it:
You’re going to need a ruler and masking tape.
Once you’ve painted your background (even if it’s white) and let it dry, start by adding any brightly coloured blocks – you don’t need precision straightness with these blocks if you plan to encase them with black lines.
Measure out your black lines using the ruler (top tip: if going from the top of the canvas to the bottom, measure at both ends to make sure you’re not accidentally heading off in a diagonal direction.)
NB: you’ll need to mask the outside of the black lines, not the inside – as it’s the inside that you’ll be painting.
Paint your black lines, taking care not to use too much paint, as it may creep underneath the masking tape, spoiling the line’s straightness.
Don’t leave the tape on too long before removing it! The ideal time to remove the tape is after an hour or so, once the paint has dried somewhat.
 (Source)
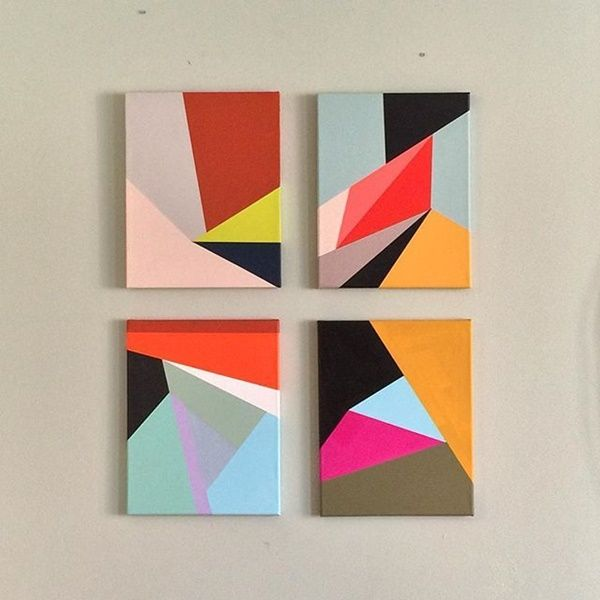
10. Geometric shapes
If the last idea was too fiddly, this one might be more up your street.
How to do it:
Again, you’ll need a ruler and masking tape.
Choose your colours, some light and some darker.
Start off with your light coloured sections – mask the outside of those sections so you can paint the inside of them.
Once that section has dried and the tape has been removed, mask the outside of your next section.
Continue the process with all your colours, finishing off with the darkest one.
(Source)
So there you have it. 10 abstract acrylic painting ideas for beginners, kids and anyone else who wants to have a go. Don’t forget, you can get all your supplies from Art to Art either online or in store. If you shop online, enjoy free shipping when you spend $100 or more.
More inspo & helpful resources
- Acrylic Painting Ideas
- Acrylic Painting Tutorials
- 5 Different Types of Canvas & Their Uses


